- To make your own egg dye, pour a little white vinegar in some plastic cups, one for each color you plan on using. Shorter cups with wide openings work best. Add 1-3 drops of your choice food coloring to each cup. Use spoons to lower the eggs into the dye and scoop them back out. Use empty egg cartons for drying.
- If you get a little dye on a hard surface like a countertop, and it won't wipe off completely, use a little hairspray. Spray the spots with hairspray, wipe them off, and then use a damp cloth to get rid of the stickiness from the spray.
- Use supplies like crayons, glue, glitter, markers, sequins, stamps, tempura paint, tape, and stickers to decorate the eggs. The crayons will resist the dye to make pictures. This is especially cool with white crayons because it's like writing an invisible note on the eggs. Draw a picture with glue and then add glitter, or sprinkle a little glitter while the eggs are still damp for sparkly eggs. Add stickers or tape to the eggs before dyeing them, then remove the tape or stickers once they are dry (tape resist art). If you want, redye the eggs after removing the tape or stickers to get a layered, multi-color effect.
- I haven't found a quick, simple fix for dye on hands, but frequent scrubbing and washing will get it off. The sooner you wash your hands, the shorter the time the dye remains.
Tuesday, March 26, 2013
Easter Egg Dying Tips
In a couple of days, Baby Bear and I will be dyeing eggs for Easter. If your weather is anything like ours, it will probably be a little too cold to comfortably dye the eggs outside. I've got a tip to help you with indoor cleanup! Or, maybe you don't like how overpriced those egg decorating kits are in many stores. You probably have everything you need to dye them already on hand! These are my favorite Easter egg dyeing tips, and I hope you find them as helpful as I have.


Tuesday, March 12, 2013
Colors Unit, Part 2
After about a week and a half of working on one color per day, Baby Bear and I spent a few days reviewing the colors we had talked about and seeing what we would get if we mixed them. These were a few of Baby Bear's activities from these days:
1.
2.
3.
4.
1.
 |
| After making a batch of no-cook playdough, I divided it into the 3 (almost) primary colors blue, yellow, and pink. Baby Bear, Papa Bear, and I worked together to mix those colors to make the secondary colors of purple, green, and orange. |
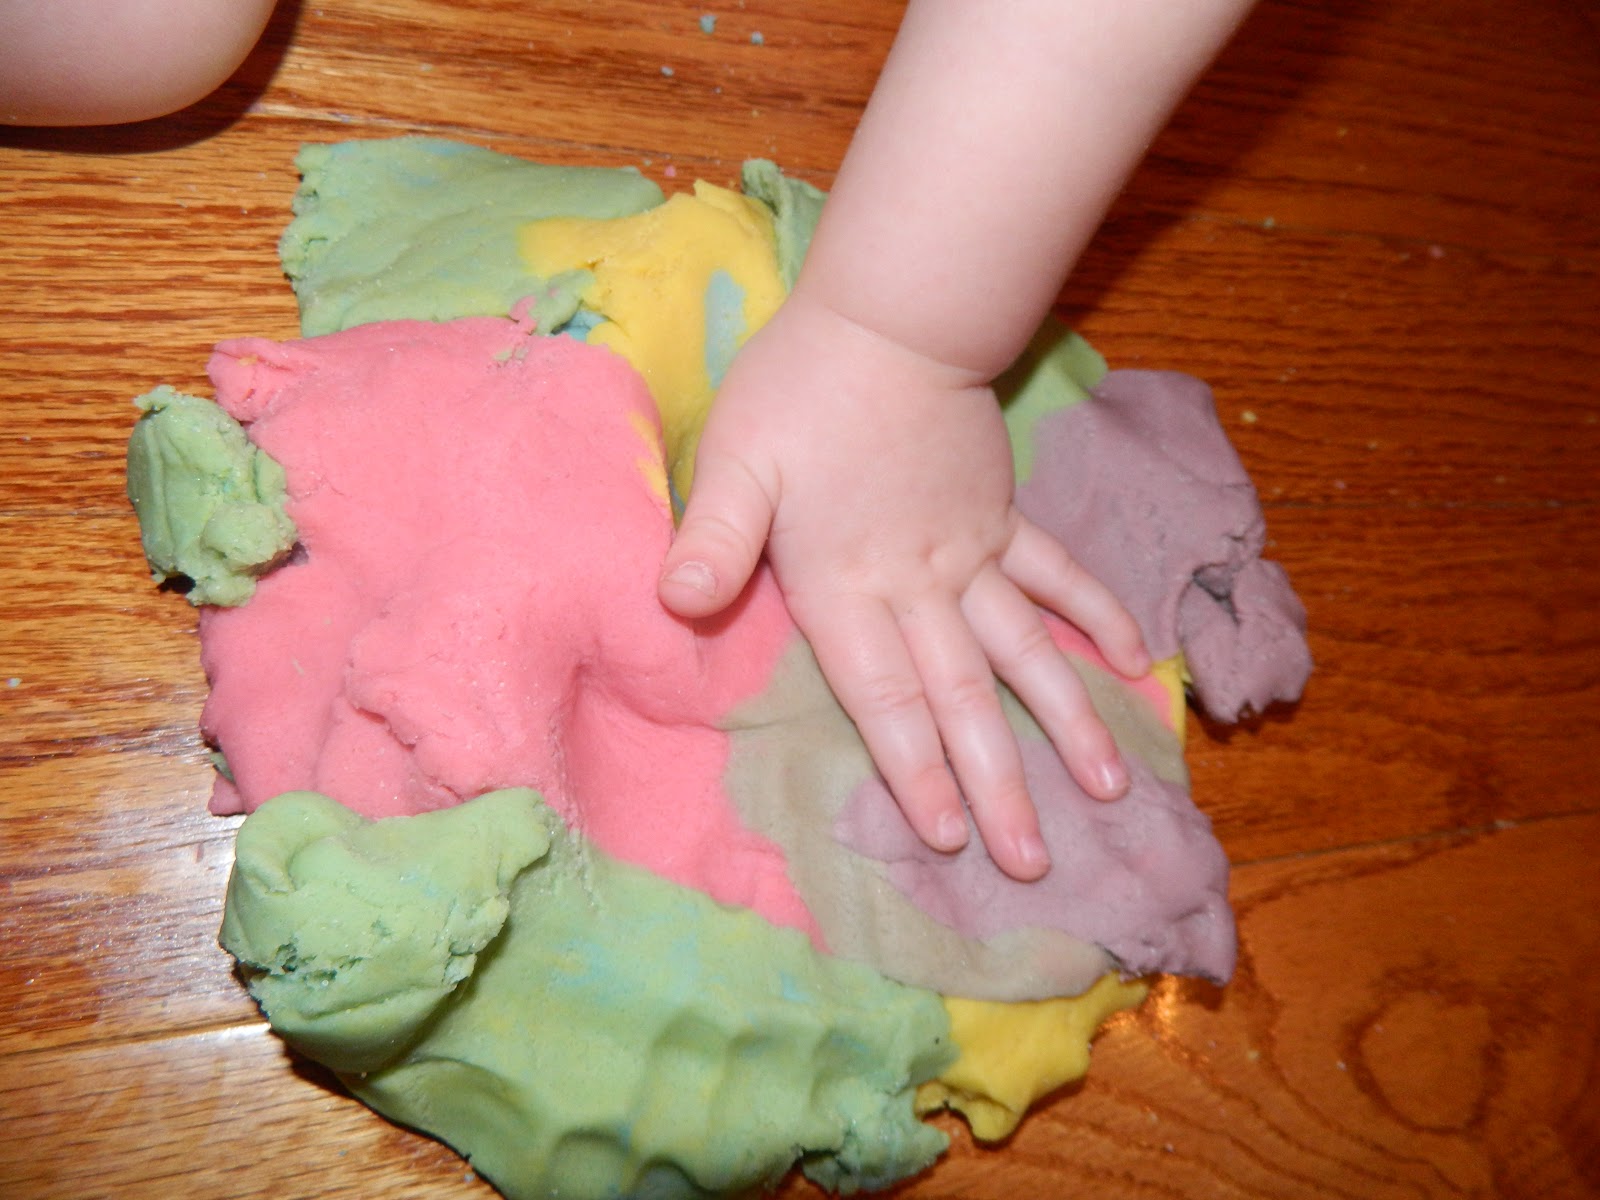 |
| Then Baby bear enjoyed mixing them all together. For awhile, we made some pretty cool tie-dye shapes with cookie cutters. Eventually, we got brown playdough, which Baby Bear also thought was cool. |
2.
 |
| Using Baby Bear's play mat, we sorted the play cooking utensils and foods from his play kitchen. |
3.
 |
| Since we had a special colored meal to go with each of our color days, we had a special rainbow muffin tin meal, too. |
 |
| This was by far Baby Bear's favorite activity, and he still asks to do this almost daily. Like with the playdough, I made the 3 primary colors using water and food coloring. |
 |
| I gave Baby Bear 2 primary colors at a time along with an empty container and a dropper. He used the dropper to transfer a little of each of the 2 primary colors into the empty container to make a new, secondary color. |
 |
| Once he finished making all the secondary colors, I let him mix all the colors however he wanted to see what they made. Of course, we ended with black. He loved seeing what new colors he could create! |
Friday, March 1, 2013
Green Eggs and Ham
If you've spent much time on my blog, you've probably noticed my affinity for all things Dr. Seuss. Even Baby Bear's nursery has a Dr. Seuss theme. You can imagine my joy, then, when my son started requesting I read the book Green Eggs and Ham to him over and over again. :) So, I decided to focus on this book for Theodore Seuss Geisel's birthday this year. While we didn't go hog wild with the theme, we did have some fun.
On day one, we read the book and made green eggs and ham with construction paper. I cut out the pieces, and Baby Bear helped me glue the pieces for the eggs together. To make this a little more fun, we decorated the yolks with green glitter glue. The next day, once our pieces were dry, I took this matching idea from The Homeschool Den and put a slightly different spin on it. On the original post, the kids had to match lower case to lower case plates and upper case to upper case plates. For our matching game, I put the upper case and lower case letters together onto one plate so Baby Bear would associate two images belonging to each letter. To keep the game from being overwhelming, I only used the letters of Baby Bear's name. On the third day of reading Green Eggs and Ham, we made green scrambled eggs. Baby Bear thought this was very cool! I had intended on this being our last activity for the book, but this afternoon Baby Bear requested orange eggs for lunch after telling me for the umteenth time about getting to eat green eggs yesterday. We may need to continue eating strangely colored foods for a few more days as an extension activity to follow Baby Bear's peaked interest.


On day one, we read the book and made green eggs and ham with construction paper. I cut out the pieces, and Baby Bear helped me glue the pieces for the eggs together. To make this a little more fun, we decorated the yolks with green glitter glue. The next day, once our pieces were dry, I took this matching idea from The Homeschool Den and put a slightly different spin on it. On the original post, the kids had to match lower case to lower case plates and upper case to upper case plates. For our matching game, I put the upper case and lower case letters together onto one plate so Baby Bear would associate two images belonging to each letter. To keep the game from being overwhelming, I only used the letters of Baby Bear's name. On the third day of reading Green Eggs and Ham, we made green scrambled eggs. Baby Bear thought this was very cool! I had intended on this being our last activity for the book, but this afternoon Baby Bear requested orange eggs for lunch after telling me for the umteenth time about getting to eat green eggs yesterday. We may need to continue eating strangely colored foods for a few more days as an extension activity to follow Baby Bear's peaked interest.


Tuesday, February 26, 2013
Colors Unit, Part 1
Baby Bear takes pride in knowing his colors. Even though he already knew many, I decided to do a colors unit with him because he found them so fun an fascinating. During this unit we were able to add a few new colors to his repertoire and to extend his color knowledge from recognition to association.
Every day, we also read a book to go with our color. Baby Bear's favorites were Green Eggs and Ham by Dr. Seuss, Harold and the Purple Crayon by Crockett Johnson, and Little Blue Truck Leads the Way by Alice Schertle.
 |
| Each day we focused on one color in particular. I introduced each color of the day when I helped Baby Bear dress by handing him a shirt that corresponded to our focus. |
 |
| We started the unit by reviewing colors he already knew by making fun, tactile collages. |
 |
| I also made a special meal each night to match the color of the day. For the most part, I was able to avoid using a ton of food coloring, but this wasn't always possible (or practical). For example, one night we had blue pancakes and blueberries with blue milk. |
 | ||
| Shortly before we began this unit, Baby Bear started learning how to use safety scissors. One of his favorite activities was practicing cutting a piece of colored paper. |
Sunday, February 10, 2013
Bowling for Soap
Not to be mistaken for the band called Bowling for Soup. ;)
I am one proud (and amused) mama bear at just how creative my Baby Bear can be sometimes. For example, after returning from a shopping trip, Baby Bear dug through the grocery bags looking for anything I might have bought for him. To my surprise, he got pulled out the package of bars of soap, got very excited, and started exclaiming, "Blocks! Blocks! Play with blocks!" No matter how many times or ways I tried to explain that they were bars of soap, not blocks, he insisted he needed to play with them. I finally opened the package, intending on showing him exactly what I meant. Instead, he showed me exactly what he meant when he grabbed the bars and started stacking them like blocks.
Our family spent all evening playing with bars of soap!!! First, we built with them as Baby Bear had wanted. Papa Bear had fun finding new architectural designs. Baby Bear enjoyed knocking every new structure down. Then, we set them up like bowling pins, rolled a ball at them, and bowled for soap. This was a huge hit with Baby Bear! Remind me why we parents buy our kids toys again?!
So, if you're facing yet another rainy, cold day and need a fun new activity to turn to, try bowling for soap! It's good, clean fun! (Wocka wocka!)


I am one proud (and amused) mama bear at just how creative my Baby Bear can be sometimes. For example, after returning from a shopping trip, Baby Bear dug through the grocery bags looking for anything I might have bought for him. To my surprise, he got pulled out the package of bars of soap, got very excited, and started exclaiming, "Blocks! Blocks! Play with blocks!" No matter how many times or ways I tried to explain that they were bars of soap, not blocks, he insisted he needed to play with them. I finally opened the package, intending on showing him exactly what I meant. Instead, he showed me exactly what he meant when he grabbed the bars and started stacking them like blocks.
Our family spent all evening playing with bars of soap!!! First, we built with them as Baby Bear had wanted. Papa Bear had fun finding new architectural designs. Baby Bear enjoyed knocking every new structure down. Then, we set them up like bowling pins, rolled a ball at them, and bowled for soap. This was a huge hit with Baby Bear! Remind me why we parents buy our kids toys again?!
So, if you're facing yet another rainy, cold day and need a fun new activity to turn to, try bowling for soap! It's good, clean fun! (Wocka wocka!)


Monday, January 28, 2013
Snowman Ice Cream
As winter storms finish moving through part of the country, I thought I would share a snowman ice cream activity my Baby Bear loved. The ice cream recipe is my own, but the snowman idea is from Pinterest. To make the ice cream, I threw two frozen bananas (peel before freezing), some milk, a few ice cubes, and a little sugar into the blender. All of this was to taste. While trying to get yours to just the right consistency and taste, remember this: more milk makes the ice cream thinner but easier to blend, more ice makes it a little thicker but chunkier, more sugar make it sweeter but less healthy, and more banana makes it thicker. You could also try using coconut milk instead of regular milk for a tropical flavor. Once the ice cream was done and dished out, I quickly added a marshmallow for the head, mini chocolate chips for the face and buttons, and a cherry for the hat (Baby Bear doesn't like maraschino cherries, so his just got a small splotch of red frosting). This ice cream melts a little quicker than the store-bought stuff, so don't get too picky over the decorations! ;) Finally, enjoy!


Wednesday, January 23, 2013
Marshmallow Snowmen
This past week in my hometown it has snowed regularly and schools have been cancelled due to very low temperatures. First of all, let me just say I am thankful I no longer deal with such a harsh winter. Second of all, when it is too cold to go outside to play in the snow, you can still do some fun snow-themed activities indoors. Or, if you live somewhere that's hardly seen a winter this year, like me, you can pretend there is snow outside and make a not-so-cold snowman out of marshmallows.
 |
| For each snowman, Baby Bear and I used 3 large white marshmallows, two ice cream cone marshmallows (mini-marshmallows would have been fine too, but this is what we had on hand), black decorating gel, Ding Dongs cut into quarters, and toothpicks to hold the marshmallows together (pretzel sticks would have been much better so the whole thing was edible, but again, this is what we had on hand). |
 |
| Baby Bear helped add the arms and draw some of the faces/buttons. |
 |
| He LOVED his marshmallow snowmen! |
Subscribe to:
Posts (Atom)